|
| |
TM 9-2350-287-20-2
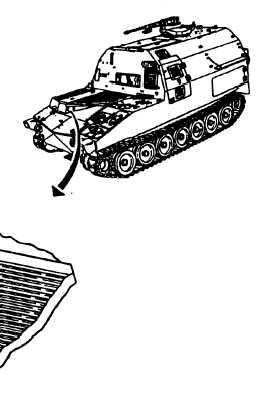
15-10. ENGINE DIPSTICK ACCESS DOOR REPLACEMENT.
This Task Covers:
a. Removal
b. Installation
Initial Setup:
Tools/Test Equipment:
• General mechanics tool kit (Item 24,
Appendix I)
Materials/Parts:
• Self-locking nut (2) (Item 328, Appendix H)
Equipment Conditions:
• Vehicle parked on level ground
(refer to TM 9-2350-287-10).
a.
1.
2.
3.
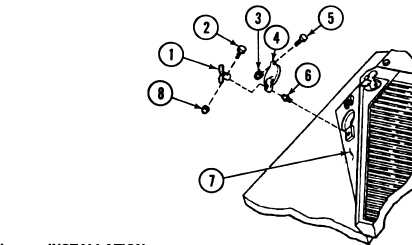
REMOVAL
Turn handle (1 ) on engine dipstick access door (4) counter-
clockwise until access door (4) is free to open.
Remove screw (5), self-locking nut (3), and access door (4)
from front slope plate (7). Discard self-locking nut.
Remove self-locking nut (8), screw (2), handle (1), and stud
(6) from access door (4). Discard self-locking nut.
b.
INSTALLATION
1.
Install handle (1 ) and stud (6) on access door (4) with screw
2.
install access door (4) on front slope plate (7) with screw (5)
3.
Turn handle (1) until access door (4) is securely closed.
FOLLOW-ON MAINTENANCE:
•None
15-20
(2) and new self-locking nut (8).
and new self-locking nut (3).
|